
The Scientific Poster Printing Checklist for Last-Minute Researchers
In This Article
The scientific poster printing checklist for last-minute researchers
If your poster deadline is tomorrow, this scientific poster printing checklist is for you. Printing errors rarely come from one dramatic mistake. They usually come from small skipped checks: the wrong size, missing bleed, fuzzy images, substituted fonts, or a PDF export setting you clicked through too quickly.
The good news is that poster printing is predictable. Printers need clear dimensions, stable fonts, high enough image resolution, and a file that will not reflow when opened on another machine. You do not need to become a print technician. You need a calm sequence that protects the work you already did.

Use this guide before you upload your file, before you approve a proof, and before you leave for the conference. If you are still designing, you can also create with Graffiy to build clearer scientific visuals before export.
Start with size, orientation, and conference rules
Poster size is the first item on any scientific poster printing checklist because it controls everything else. A beautiful poster at the wrong size is still a problem. It may be rejected by the print shop, cropped at pickup, or impossible to hang in the assigned space.
Start with the conference instructions, not an old poster template. Check the maximum width, maximum height, orientation, and display method. Some meetings specify portrait only. Others allow landscape but provide a board that is smaller than the common 48 by 36 inch poster.
If the conference gives dimensions in centimeters, do not estimate in inches by memory. Convert carefully and round only when the printer allows it. A small rounding error can affect alignment, especially when your design has borders, full-width section bars, or edge-to-edge color.
Next, set your document size to the final print size before you design the last details. Scaling a finished poster at export can work, but it often changes line weights, image sharpness, and text spacing. Last-minute scaling is also where many legends become too small.
Here is a quick size check you can run in less than two minutes.
- Confirm the conference maximum poster size.
- Confirm portrait or landscape orientation.
- Set the file to final size, not slide size unless the printer requests scaling.
- Check that no required content sits outside the visible page.
- Ask the printer whether they need bleed or a no-bleed file.
If you are printing from PowerPoint, confirm that the slide size is not still set to widescreen presentation format. That is one of the most common poster mistakes. If you are working in Illustrator, InDesign, Keynote, or another tool, inspect the document setup panel directly.
Check bleed, margins, and safe zones
Bleed matters when color, images, or design elements extend to the edge of the poster. It gives the printer a little extra artwork to trim through. Without bleed, an edge-to-edge background can come back with a thin white line along one side.
Not every poster needs bleed. Many scientific posters use a white background with generous margins, which is usually safer and easier to print. Still, your scientific poster printing checklist should include the bleed question because print shops vary. Some ask for 0.125 inch bleed. Others prefer no bleed and will scale the file themselves.
Margins are different from bleed. Margins protect content from trimming, mounting, and handling. Keep titles, author names, QR codes, axis labels, and institutional logos away from the edge. A safe margin of at least 0.5 inch is a reasonable minimum for most large posters. One inch is better if the design allows it.
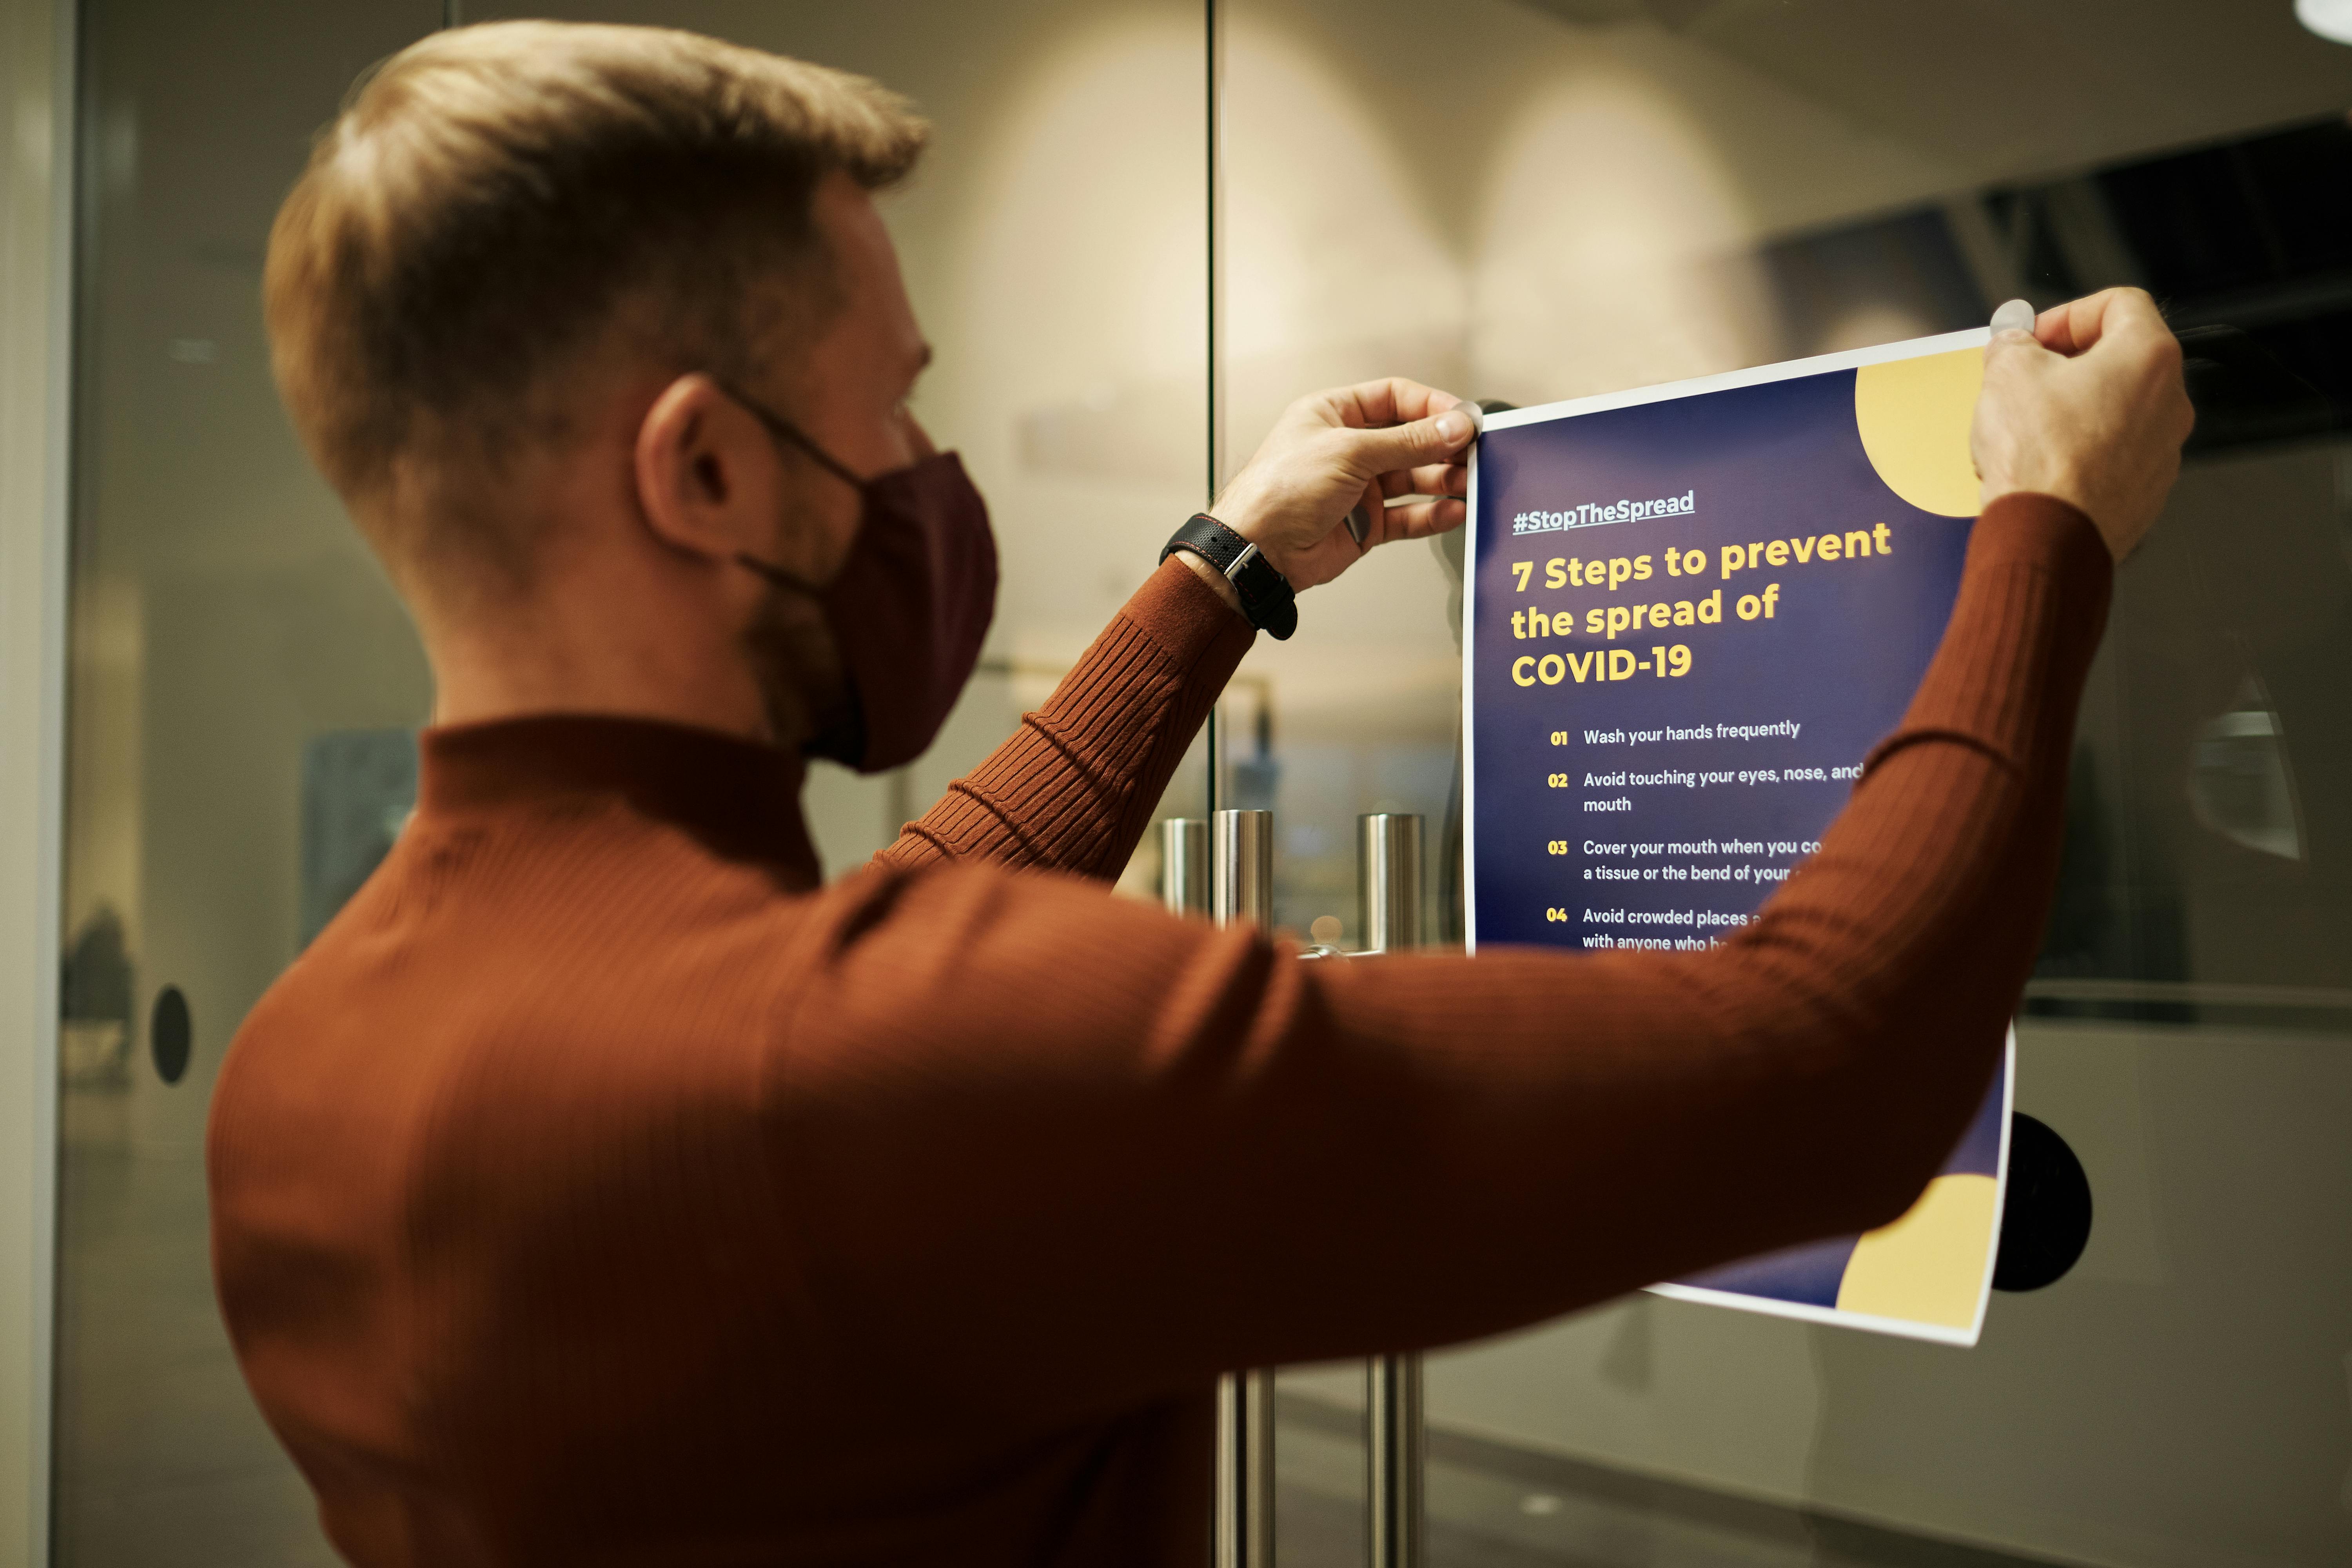
Also check panel seams if your poster will be mounted, folded, or printed in sections. Most conference posters are single sheets, but fabric posters and temporary displays can behave differently. If a seam crosses a figure caption or QR code, readability suffers.
Before export, zoom out and look at the poster as a whole. Then zoom in to every edge. This simple rhythm catches floating labels, clipped logos, and lines that sit slightly outside the page. Last-minute researchers tend to inspect the middle of the poster and forget the perimeter.
Make fonts boring, readable, and safe
Fonts should not be exciting at the print stage. They should be legible, embedded, and unlikely to change. If the printer opens your file and substitutes a font, your careful layout can shift. A caption may wrap differently. A Greek symbol may turn into a box. A title may collide with a logo.
Use a limited font set. Two font families are usually enough: one for headings and one for body text. If you use bold, italic, or special symbols, verify that those styles are part of the actual font family. Fake bold and fake italic can behave unpredictably across software.
For size, think about viewing distance. Your audience will scan from several feet away, then step closer for details. As a practical starting point, use large titles, clear section headings, and body text that does not require squinting. Many posters fail because the author tried to include a paper's worth of prose.
The American Chemical Society has useful poster presentation guidance, including practical advice on clarity and visual hierarchy. You can compare your design against their recommendations in this ACS guide to preparing for scientific presentations.
Before printing, export a PDF and open it on a different computer if possible. This is the fastest font stress test. If symbols, subscripts, superscripts, equations, and special characters still look correct, you are in better shape.
If something looks wrong, do not ignore it. Embed fonts during export, convert text to outlines only if you know what you are doing, or replace risky typefaces with standard, well-supported fonts. Converting to outlines can preserve appearance, but it can also make text harder to edit and increase file size.
Inspect images, graphs, and color before export
Images carry much of the scientific argument, so they deserve their own section in this scientific poster printing checklist. A figure that looks acceptable on screen can print soft, pixelated, or muddy at poster size. The bigger the poster, the less forgiving low-resolution images become.
Check image resolution at final print size, not at the size it was originally captured. As a rough rule, photographs and raster images should often be around 150 to 300 pixels per inch at final size. Line art, diagrams, and charts may need higher effective resolution, especially if they include small labels or thin strokes.
Graphs exported from analysis software should be checked carefully. Vector formats such as PDF, SVG, or EPS often preserve sharp lines and text better than screenshots. Screenshots are convenient, but they are also a common cause of fuzzy axes and unreadable tick labels.

Color also changes in print. Your monitor emits light. Paper and fabric reflect it. Bright blues, neon greens, and very light gray text can disappoint once printed. If color accuracy is important, ask for a small proof or print a section at final size before the full poster.
Pay special attention to contrast. Pale text on a colored background may look refined on screen, then vanish under conference lighting. Thin yellow lines, light gray labels, and low-contrast heatmap annotations are repeat offenders.
Use color to organize, not decorate. A consistent palette helps readers understand your poster faster. Too many colors create visual noise, which is the last thing you need when people are walking past dozens of posters in one aisle.
Export a printer-friendly PDF
Your working file is not always your printing file. A printer-friendly PDF is usually the safest final format because it preserves layout better than editable files. Still, PDF export settings matter. A weak export can flatten details, compress images too much, or omit fonts.
Before export, save a separate final copy of your editable file. Name it clearly. Then export the PDF from that final version, not from an older draft hidden in your downloads folder. Last-minute chaos creates duplicate files, and duplicate files create wrong prints.
Use this export check before you upload anything.
- Export to PDF at final poster size.
- Embed fonts when the software allows it.
- Use high-quality or print-quality settings.
- Avoid excessive image compression.
- Include bleed only if the printer requested it.
- Open the exported PDF and inspect every page edge.
- Zoom to 100 percent and review important figures.
- Check QR codes by scanning them from the PDF preview.
File names matter more than people admit. Use a clear name such as lastname-conference-poster-final-print.pdf. Avoid names like final2-new-real-final.pdf. If you send the file to a coauthor or printer, a clean name reduces the chance of printing the wrong version.
If your PDF is enormous, ask the printer before compressing it aggressively. A large file can be annoying to upload, but a damaged file is worse. Use thoughtful compression, not panic compression. Keep the master PDF intact until the poster is printed and approved.
Print a section at actual size if you can
A full proof is ideal, but it is not always possible. When time is short, print one section at actual size on a normal printer. Choose an area that includes body text, a figure, a caption, and a color block. This small proof reveals problems that a screen cannot.
Look at the proof from arm's length. Can you read the body text without effort? Are graph labels clear? Does the figure caption feel cramped? Does the color provide enough contrast? If you struggle in your office, a tired conference attendee will struggle more.
This step is especially useful for posters built from dense manuscripts. Researchers often underestimate how large a poster is and overestimate how much text people will read. A small actual-size proof is a blunt but helpful reality check.
If you cannot print a section, view the PDF at actual size on screen and step back. It is not perfect, but it is better than judging everything while zoomed in. Zooming in makes small text feel safer than it really is.
Use this last-hour pre-upload table
When your print shop closes in one hour, you need a compact decision tool. This table condenses the scientific poster printing checklist into the checks most likely to prevent expensive reprints.
| Check | What to confirm | Why it matters |
|---|---|---|
| Size | Final width, height, and orientation match conference rules. | Wrong dimensions can cause cropping or rejection. |
| Bleed | Bleed is included only if requested by the printer. | Prevents white edges or unwanted scaling. |
| Margins | Important content stays inside a safe zone. | Protects titles, logos, and QR codes from trimming. |
| Fonts | Fonts are embedded and symbols display correctly. | Prevents layout shifts and missing characters. |
| Images | Figures are sharp at final size. | Protects the scientific content from pixelation. |
| Export | PDF uses print-quality settings. | Preserves layout, images, and color better. |
| Transport | Poster tube, label, and backup file are ready. | Prevents damage and travel panic. |
Do not treat this table as optional if you are tired. Fatigue makes obvious mistakes invisible. Read each line out loud if needed. It feels silly, but it works.
Plan pickup, transport, and backups
Printing does not end when you click upload. You still need to pick up the poster, inspect it, transport it, and hang it. A flawless PDF will not help if the physical poster arrives bent, damp, or left in a rideshare trunk.
Ask the print shop when the poster will be ready and whether pickup includes an inspection window. If possible, unroll the poster before leaving. Check the title, author list, figures, QR code, and edges. Look for banding, smudges, trimming problems, and unexpected color shifts.
Transport depends on material. Paper posters need a sturdy tube with end caps. Label the tube with your name, phone number, conference, and hotel. Fabric posters should be folded or rolled according to the printer's advice. Do not assume fabric is indestructible. Creases and dirt still happen.
Carry a digital backup in at least two places. Keep the final PDF on your laptop and in cloud storage. Email it to yourself or a trusted coauthor. If the tube is lost or damaged, a local print shop near the venue may still save the presentation.
Pack mounting supplies if the conference does not provide them. Push pins, clips, or hook-and-loop fasteners may be required. Check the conference instructions before packing tape, since some venues prohibit adhesives. A small repair kit with binder clips and clear tape can still rescue minor problems.
Finally, photograph the printed poster before you travel. This gives you a quick reference for damage claims, coauthor updates, and social posts. It also helps you spot problems while there is still time to reprint.
Common last-minute mistakes to avoid
The most painful poster mistakes are avoidable. The first is exporting from the wrong version. If multiple people edited the poster, appoint one person to own the final file. Do not let three coauthors upload three similar PDFs to the printer.
The second is trusting screenshots. Screenshots of graphs, microscopy panels, maps, and equations may look fine until they are enlarged. Export figures properly whenever possible. If you must use a screenshot, test it at final size before committing.
The third is ignoring the printer's instructions. Print shops may have specific requirements for file size, bleed, color, accepted formats, and turnaround times. Their requirements beat generic advice. When instructions conflict with this scientific poster printing checklist, ask the printer directly.
The fourth is making major design changes after proofing. Tiny corrections are fine. Rebuilding a figure layout, changing fonts, or adding a new section can create fresh problems. If you make a major change, rerun the checklist from the top.
The fifth is forgetting the human reader. A poster is not a compressed manuscript. It is a guided visual explanation of your research. If a last-minute edit makes the poster denser but not clearer, it probably does not belong.
A calm final pass before you print
Here is the practical truth: your poster does not need to be perfect to be effective. It needs to be accurate, readable, printable, and transportable. That is a manageable standard, even the night before a conference.
Run the scientific poster printing checklist in order: size, bleed, margins, fonts, images, export, proof, pickup, transport, and backup. Resist the urge to jump straight to export because you are tired. The five minutes you spend checking now can prevent an expensive reprint tomorrow.
If you are still improving the visual structure, simplify first. Remove extra text, enlarge the most important figures, and make the conclusion easy to find. Strong poster design is generous to the reader. It tells people where to look and why the work matters.
When the PDF passes your checks, send it with confidence. Then keep your final file, backup PDF, pickup receipt, and transport plan in one place. Your future self, standing in a conference hall with coffee in one hand and push pins in the other, will be grateful.
Frequently Asked Questions
What is the most important item on a scientific poster printing checklist?
The most important first check is the final poster size, because every other design and export decision depends on it. Confirm the conference dimensions, orientation, and printer requirements before checking fonts, images, or bleed.
How late can I send my poster to the printer?
That depends on the print shop, material, and whether you need shipping. For last-minute printing, call before uploading and ask about cutoff times, proofing, and pickup windows. Always keep a backup PDF in case you need to use a different local printer.
Should I print my scientific poster as paper or fabric?
Paper usually gives crisp detail and strong color, but it needs a protective tube. Fabric is easier to pack, especially for flights, but it may show folds and can soften fine details. If your poster has dense graphs or small labels, ask the printer for material-specific advice before ordering.
Written by
Shobajo AbdulAzeez
Tags
Share this article